DIY Lava Lamp
Fun science craft activity
SCIENCE
1/5/20253 min read


DIY Lava Lamps
Creating a DIY lava lamp is a fantastic and engaging science experiment that introduces kids to the concepts of density, immiscibility (how liquids don’t mix), and chemical reactions—all while making a cool, colorful lamp! Best of all, you can make it with simple materials found around the house.
Here’s how to create your very own lava lamp with your kids:
Materials Needed:
Water
Alka-Seltzer tablets (or any fizzy antacid tablets) https://amzn.to/4oSdvSn
A funnel (optional but helpful) https://amzn.to/4f3vty2
A spoon or stick (for stirring)
Instructions:
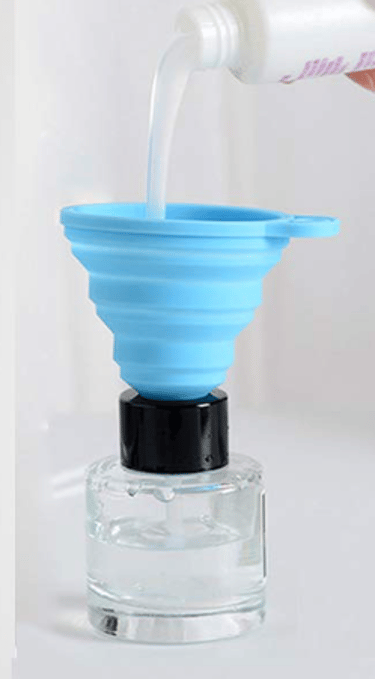
Fill the Bottle with Oil:
Pour vegetable oil into the bottle until it’s about three-quarters full. You want to leave some space at the top for the water and bubbles.
Tip: The oil is the “lava” part of your lamp, so the more oil, the more dramatic the effect will be!
Add Water:
Fill the rest of the bottle with water, leaving some space at the top.
What’s happening: The water and oil won’t mix because oil is less dense than water, so it will float on top. This is one of the cool parts of the lava lamp effect.
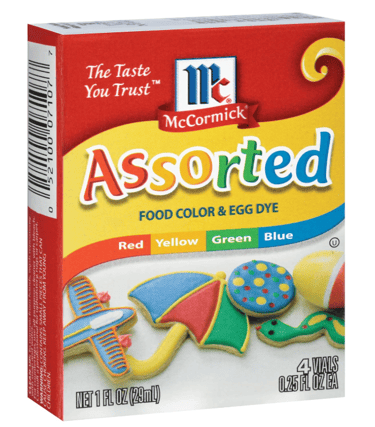
Add Food Coloring:
Add 5-10 drops of food coloring to the water. The coloring will mix with the water but not with the oil, so you’ll have colored water sitting underneath the oil.
Tip: If you want to make multiple colors, you can divide the bottle into sections using different food colorings.
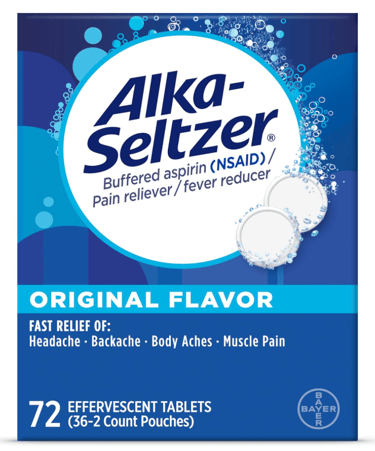
Break an Alka-Seltzer Tablet into Pieces:
Break an Alka-Seltzer tablet into 2 or 3 small pieces and drop one small peice into the bottle. Alka-Seltzer creates gas bubbles when mixed with water, and this is what makes the lava move!
Lava Lamp in Action:
As the Alka-Seltzer reacts with the water, it will start producing gas bubbles, which will carry the colored water up through the oil.
Once the bubbles pop at the top, the colored water will sink back down. You’ll see the “lava” effect, with colorful blobs rising and falling inside the bottle!
Use a Flashlight :
Place the bottle on top of a flashlight or a small lamp to illuminate the colored bubbles as they move. The light will make the dramatic effect!
What’s Happening:
Density: The oil and water don’t mix because water is denser than oil. This creates two separate layers in the bottle.
Chemical Reaction: When you add the Alka-Seltzer, it reacts with the water to produce carbon dioxide gas bubbles. These bubbles are less dense than the liquids, causing them to rise and push the colored water through the oil.
Immiscibility: The food coloring only mixes with the water and not the oil, showing how certain liquids -like oil and water-don’t mix together.
Tips for Fun Variations:
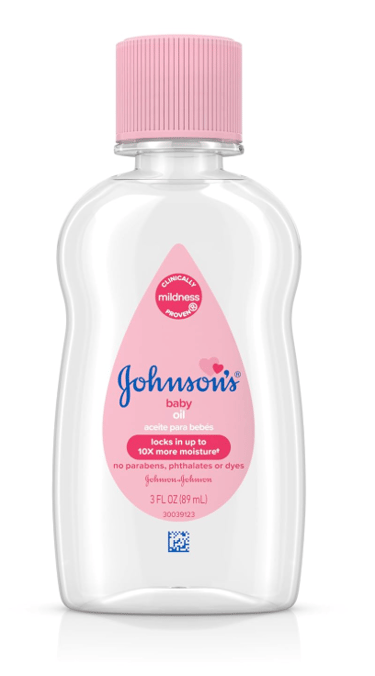
Experiment with Different Oils: You can use baby oil or coconut oil for a different look or effect. Baby oil, for example, will create a clearer and smoother lava lamp.
Make a Glitter Lava Lamp: Add some glitter or small beads to the oil for a sparkly effect!
Try Different Fizzers: You can also experiment with different types of fizzing tablets (like bath bombs or vitamin C tablets) to see how they change the lava lamp’s behavior.
Safety Note:
Always supervise kids during this activity, especially when using Alka-Seltzer tablets or breaking them into smaller pieces.
Be careful not to shake the bottle too hard once the Alka-Seltzer is added, as it may cause excessive bubbling and could overflow.
This DIY lava lamp is a fun way to combine creativity, science, and a little bit of magic all at once! It’s a great project to do with kids and gives them a deeper understanding of scientific concepts in an entertaining way.
Enjoy watching your homemade lava lamp in action—it's sure to be a hit!